
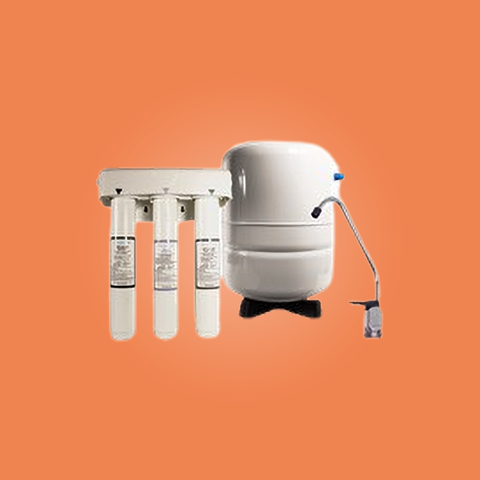

Reverse Osmosis Drinking Water System Filter Instructions
| BEFORE YOU BEGIN: | BEFORE YOU BEGIN: |
|
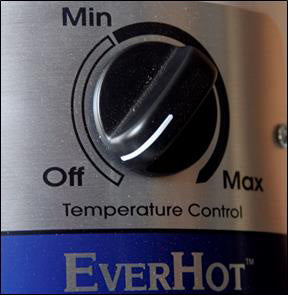
Customers with EverHot® need to turn the knob to the OFF position and unplug the system before changing the filter. |
Customers with EverCold® need to turn off the FEED before changing the filter.
|
|
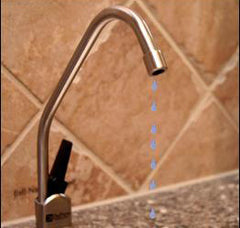
STEP 1: Lift the drinking water spigot lever to the ON position.
|
|
|
STEP 2: Immediately turn off the tank. (The valve is located on the top of the tank.)
|
|
|
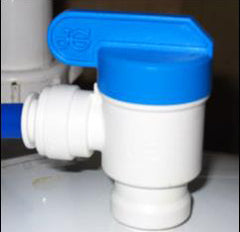
STEP 3: Turn off the FEED and COLD water supplies.
|
If your system has an inlet valve, turn it to the OFF position.
|
|
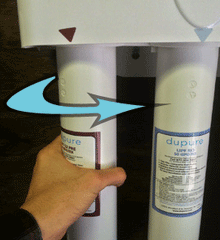
STEP 4: Quarter turn the POST filter counter-clockwise and gently pull down to remove.
|
|
|
STEP 5: Quarter turn the new PRE filter clockwise in the POST port until lightly seated.
|
ATTENION: Do not overtighten the filter as it could damage the system. |
|
STEP 6: Turn water feeds - including the tank - ON and let water run from the spigot for 3 seconds. After 3 seconds turn off all feeds.
|
|
|
STEP 7: Repeat step 6 until water from spigot runs clear.
|
|
|
STEP 8: Remove the filter that has just been flushed from the POST and insert clockwise into the PRE port.
|
|
|
STEP 9: Repeat steps 5 through 7 with the other new filter.
|
|
|
STEP 10: Once water is clear with both new filters installed, turn off the tank.
|
|
STEP 11: Turn the FEED and COLD water supplies ON... |
...and wait for drizzle to come from spigot.
|
|
STEP 12: Once drizzle comes for the spigot, turn ON the tank and let water flow until it returns to a drizzle.
|
Then turn the spigot OFF.
|
|
STEP 13: If you have a 1 gallon tank, wait 20-30 minutes for the tank to fill.
|
For a 2 gallon tank, wait 45 minutes.
|
|
STEP 14: Turn the spigot ON and allow the tank to empty...
|
...bringing the water flow to a drizzle again.
|
|
STEP 15: Turn the spigot OFF and repeat step 13...
|
...waiting for the tank to fill completely. |


IMPORTANT NOTE: We highly recommend that you periodically check for leaks at least 48 hours after performing a filter change. Placing a baking sheet lined with some paper towels under the system for a few days allows you to quickly see if any problems develop. If a leak appears, please unscrew and then reattach your new filter(s) using the process described above. If the problem persists, please contact our Customer Service Department at 877-534-5837, extension 5.
After a filter change, it is normal for water to appear milky or cloudy. Additionally, some small participles (called "filter fines") may appear. These effects are NOT harmful to you, your family or the system. Your water will return to normal within a few days once the filters have fully purged all the air out of the system.
If you would rather download a PDF of the instructions, it can be found here.